LET'S MAKE A DIGITAL LIFESTYLE
LET'S MAKE A DIGITAL LIFESTYLE
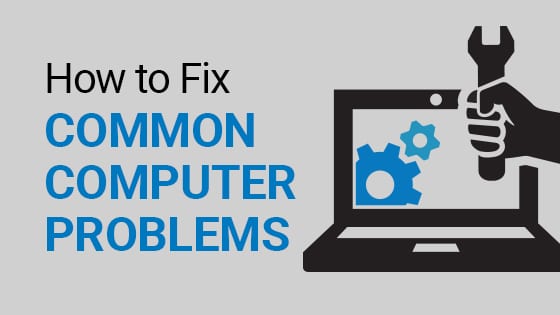
A PC that powers on but displays nothing can be a frustrating experience. You hear the fans spinning, lights indicating power, and perhaps even the sounds of the hard drive, but the screen remains blank. This issue can arise from various hardware or software problems. In this comprehensive guide, we’ll explore potential causes and step-by-step solutions to help you get your display back up and running.
Before diving into more complex solutions, start with some basic checks.
Ensure that your PC is receiving power. Look for lights on the motherboard, fans, or any connected peripherals. If the power indicator on your monitor is off, check that it’s plugged in and functioning properly.
To rule out monitor issues, connect your PC to a different monitor or TV. If the display works on another screen, the original monitor may be faulty.
Image Suggestion: A photo of a PC connected to a different monitor.
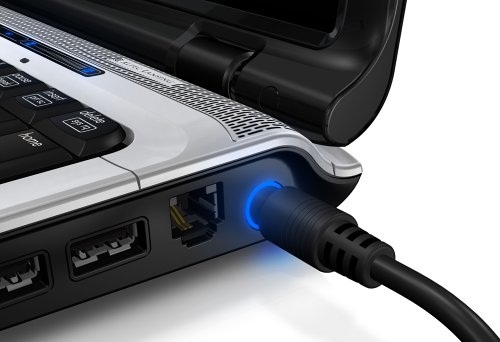
Inspect all cables connected to your PC and monitor. Make sure the power cable is securely plugged into both the outlet and the monitor. Also, check the video cable (HDMI, DisplayPort, VGA, etc.) for any damage.
Image Suggestion: Close-up image showing properly connected cables.
Once you've completed your initial checks, it’s time to perform some basic troubleshooting.
Sometimes, simply power cycling your PC can resolve the issue. To do this:
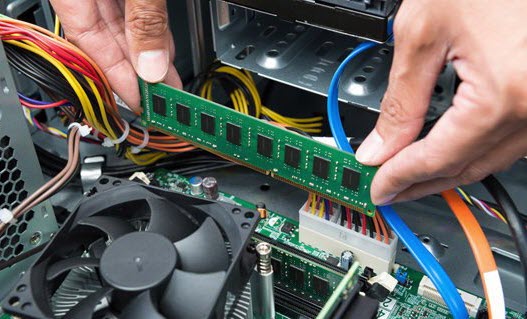
Loose connections can prevent your PC from displaying anything. Open your PC case and carefully reseat the following components:
Image Suggestion: Diagram showing how to reseat RAM and a graphics card.
If your motherboard has a speaker or is connected to one, it may emit beep codes to indicate specific issues. Refer to your motherboard’s manual to decode the beeps.
A malfunctioning graphics card is a common cause of display issues. Here’s what to check:
If your CPU has integrated graphics, remove the dedicated graphics card and connect your monitor to the motherboard’s video output. This can help you determine if the graphics card is the issue.
Inspect the graphics card for any visible damage, such as burnt components or a dusty heatsink. Clean the card using compressed air if necessary.
Image Suggestion: Image of a graphics card with highlighted areas to check for damage.
Sometimes, the issue may stem from incorrect settings on your monitor or PC.
Ensure your monitor is set to the correct input source. Most monitors have multiple inputs (HDMI, DisplayPort, etc.), and selecting the wrong one will result in a blank screen.
If you suspect a software issue, try booting into Safe Mode:
If your display works in Safe Mode, it may indicate a driver issue that needs addressing.
A failing power supply can lead to insufficient power being delivered to your components, resulting in display issues.
Check the PSU for any unusual noises, smells, or physical damage. If possible, use a PSU tester to check its functionality.
If you have access to another compatible power supply, try swapping it out to see if this resolves the issue.
Image Suggestion: Image showing how to test a power supply unit.
If hardware seems fine, the BIOS or CMOS settings could be the problem.
Resetting the BIOS can help resolve configuration issues:
If your display works after resetting, consider updating your BIOS. Visit the manufacturer’s website for instructions specific to your motherboard.
Image Suggestion: Diagram showing the location of the CMOS battery on a motherboard.
If the problem persists, running hardware diagnostics can help identify failing components.
Many manufacturers provide diagnostic tools that can be run from a USB drive. Create a bootable USB with the diagnostic software and follow the instructions.
Check other hardware components like the motherboard and CPU for any visible damage. If you suspect any part is faulty, consider replacing it.
If you’ve exhausted all troubleshooting steps and your PC still has no display, it might be time to seek professional help.
Reach out to the manufacturer’s customer support or visit a certified repair center. Provide them with a detailed description of the issue and the steps you’ve already taken.
If your data is critical and your PC is not functioning, consider consulting a professional data recovery service before attempting any invasive repairs.
A PC that powers on without a display can be caused by various factors, from simple connection issues to more complex hardware failures. By following the steps outlined in this guide, you can systematically troubleshoot the problem and potentially restore your PC to working order.
Remember, regular maintenance, such as keeping your components clean and ensuring your software is up to date, can help prevent such issues in the future. If all else fails, don’t hesitate to seek professional assistance.
With patience and persistence, you can overcome this frustrating challenge and get back to enjoying your computing experience!
Think of your regarding page as the simplest way to introduce yourself. It doesn’t got to be thorough, and you don’t got to say something that produces you uncomfortable..

© Copyright 2010 - 2026 nathorg.com All Rights Reserved.


.jpg)